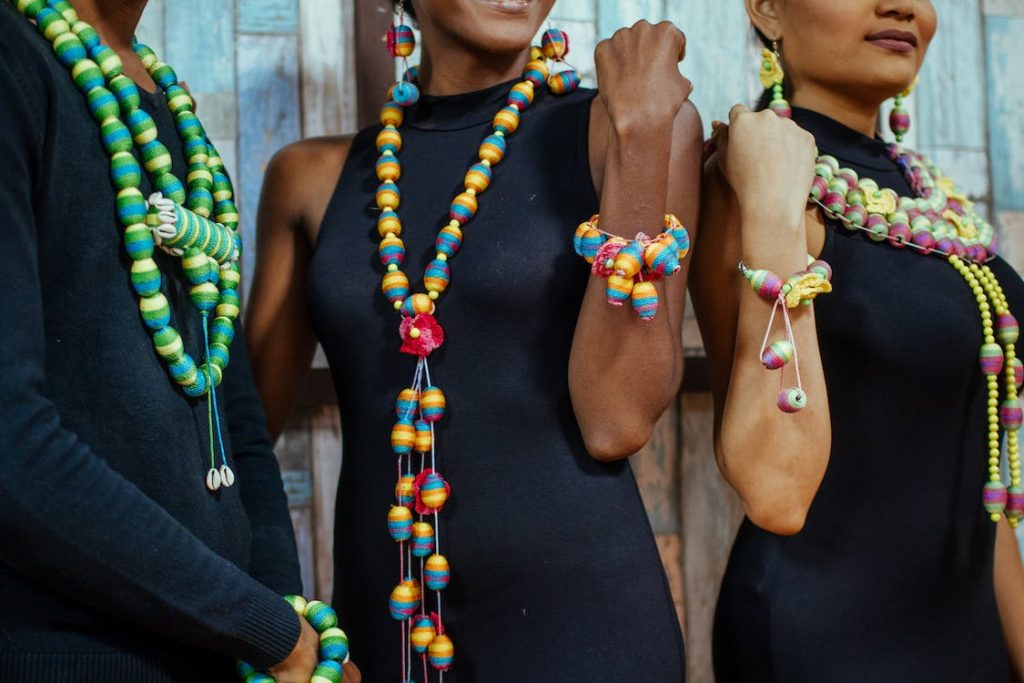
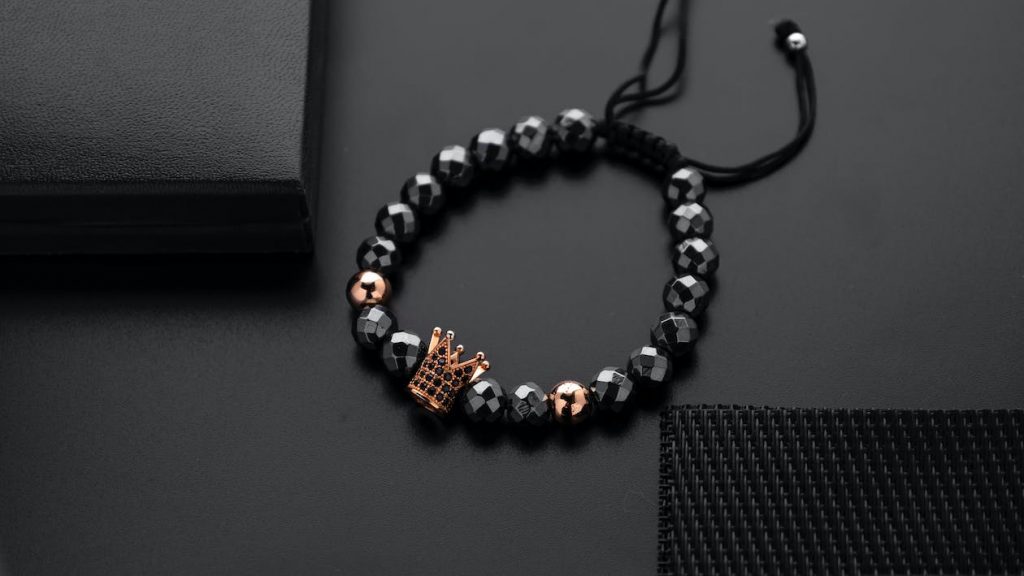
Even a person of limited craft ability, such as this author, can make unique gifts for friends and family. It may take a couple of bent eye or head pins at first, but it isn’t difficult to learn.
The Items Needed for Jewelry
Findings, the parts that hold beads and fasten the clasps, beads and chain are the only supplies needed. The beginner may need a tool called round nose pliers for bending rings, but the household needle nose pliers will work for the rest of the connections until a decision to invest in jewelry tools can be made. Jewelry tools run in the seven to fifteen dollar range. Rings and Things
Here are some of the jewelry parts, the findings, and what their purpose can be.

- Chain—Purchase chain that is strong and inexpensive for the first few projects. Delicate is difficult for a beginner.
- Head pin—Pin with a head the will keep a bead from sliding off. Heads can be flat or decorative. Used to hold pendant beads that hang from the chain or earring finding.
- Eye pin—The essential piece for inserting beads between lengths of chain. One end is a pre-made eye. The other end is open to slide on a bead, cut to length and form a ring to connect to chain or another eye pin.
- Clasp—Clasps close the necklace around the wearer’s neck. The common and secure kind is the lobster, but there are options, such as the bar and ring toggle clasp.
- Earring findings—hold the bead or dangle to the wearer’s ear lobes. These come in pierced styles or clasp styles.
- Jump Rings—Rings connect chain to the clasp or wherever a connection must be made.
Beads, Beads, and More Beads
Now that the findings and chain are in hand, turn to the bead selection. There are a lot of choices to be made before the purchase. Natural stone is available, but heavy, so go smaller if possible. Wooden beads are exotic and light weight.
Glass beads come in multiple colors and finishes and shapes. Ceramic beads are colorful and have texture, but they can also be a bit heavy. Metal beads add sparkle. Shell beads add shine and color. Acrylic beads add a mod touch.

Buying all one size of bead may seem practical, but it could be a bit boring, so remember the small accent beads while in the store. Also consider varying the colors with small amounts of accent colors opposite to or in a different hue from the main shade.
Set aside time for this decision. The bead selection in one store might not present all the beads desired. Even in the biggest bead aisle, the item that is exactly right may not be obvious to the shopper. A shopper may find that the larger the selection of beads the more difficult the decision.
The first project can be a simple one. Try this simple chain and bead project.
- Cut the chain into eight 3 inch pieces. This will make a chain that is slightly longer than 24 inches. If a shorter necklace is desired, try six or seven pieces.
- Slide a bead on an eye pin and pick up the round nose pliers. Wrap the eye pin around the round post on one side of the pliers to form a loop. Remove the pliers and cut the excess wire. Repeat with six beads.
- Connect each bead to a length of chain. Connect each bead and chain to another bead and chain until all the chain is connected to a bead, including the last piece of chain. Connect the two loose ends of chain to the ring and clasp.
- Voila, a necklace is born.

Earrings can be made by stacking beads on a head pin. Form a loop on the open end of the head pin and connect it to the earring finding. Repeat.
A few hours for the beginner, but a few minutes for the experienced bead and chain devotee, can make each necklace and earring set.
Once having made that first item, the imagination takes over and inspiration is everywhere. Friends and relatives really appreciate gifts with the personal touch, especially using the metal tones and colored beads picked with their preferences in mind.


